MOROCCAN PATTERN WALL STENCILLING
Moroccan pattern wall stencilling
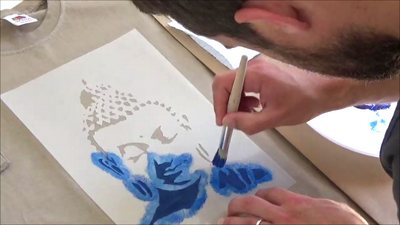
Hello from Ideal Stencils
Today we are going to be using our A2 Large Moroccan Marrakech lattice pattern stencil to create a repeated pattern on a feature wall. Stencilling is a cheap alternative to wallpaper and its amazing what you can achieve with a little time paint and patience. It is very satisfying to finish your stencilling project knowing that you achieved that all yourself and the hand painted natural effects are unique and individual. So ditch the wallpaper and grab the stencil and paint your way to your ideal wall décor.
Step 1: Line up you 1st stencil repeat

With many repeat pattern stencilling projects where the stencil is designed to line up with previously painted areas. It is always a good ideal to find an area of wall where you can stencil a vertical uninterrupted row from ceiling to floor. Place the stencil up high on the wall and make sure that it is level using a spirit level. You can use repositionable spray mount on the back of the stencils and pieces of low tack blue decorators tape to keep it in position and fixed to the wall while you work.
Step 2: Load your paint roller

It is important to use a dense foam roller also called a gloss roller for painting the stencil. You can use ordinary house emulsion paint. To load your roller empty a small amount of your paint onto a polystyrene plate (or similar) and run your roller through it to coat it evenly. Then you MUST offload the roller onto some kitchen roll to take off all the excess paint. Too much paint will cause paint to bleed under the stencil causing blotchy results. Your roller wants no visible sign of paint build up on it and it wants to feel damp rather than wet.
Step 3: Stencil your first repeat

Use light to medium pressure at first to paint your stencil repeat. You can build the paint up to the required level to suit your preferences. If you push to hard then you will again push paint under the stencil.
step 4: Stencil your way down the wall

Work your way down the wall lining up the stencil with previously painted areas. There is no need to paint those areas again.
Step 5: How to paint the stencil at the skirting board

When you get down to the bottom of the wall run a strip of low tack masking tape along the skirting so you don’t get paint on it. Use the roller to roll as much as you can into the corner and then bend the stencil into place either using a metal ruler or your fingers and finish of with a stencil brush. Remove the masking tape to leave a nice crisp line.
Step 6: Move the stencil across and paint your next row

This how the stencil lines up for the next row of repeats. Line it up so it’s just touching the already painted right size of the first row, position and paint.
Step 7: How to tackle the corners.

Tape down the wall so that you do not get paint anywhere that you do not want it. As you can see the stencil bends easily into the corners and then use masking tape to fix it in position. As with the skirting use the roller as much as you can and then finish off with the stencilling brush.
Step 8: Touch up any areas that need it

For any areas that didn’t match up 100% or catch your eye use a fine brush to finish off these areas. Stencilling provides you with a hand painted and natural finish, which something that wallpaper will never create but we must expect that there are going to be some imperfections.So do not fret if areas do not match up perfectly or if there is paint bleed here and there, because once the whole pattern is complete your eye wont notice, but rather take in the whole effect.

I was happy enough with the result to have my photo taken in front of the newly painted pattern. The Moroccan pattern stencils we offer at Ideal Stencils are great for injecting bold colour and pattern to a feature wall with a difference. But we have many other repeat pattern stencils that you must checkout in our shop.
Thanks for joining us and good luck with your next stencilling project!
Visit us at Ideal Stencils
Follow us on Facebook and Pinterest
or send us an email – info@idealstencils.co.uk


Dejar un comentario